No matter if you have just bought a new freshwater fish, saltwater fish, invertebrate, or coral, acclimation plays an important role in the long-term health and survival of your new addition.
I love buying new livestock for my reef tank but for me the journey from store to home is long. If I buy them myself in the city it is a minimum of a 3-hour drive home. If I order them online it’s a 24-hour transport process. Acclimation for me is not even an option.
Common Symptoms of Fish Not Acclimated to a New Aquarium:
- Stress
- Illness & Disease
- Infection
- Thermal Shock
- Ph Burn
- Osmotic Shock
- Ammonia Toxicity
- Acute Environmental Factors
Most fish stores keep their water parameters at very different levels to your aquarium. They do this to keep the stress and chances of infection to a minimum because a loss of an animal hurts their bottom line.
Fish are able to tolerate these lower parameters from short periods of time but because of this, the difference between your water and theirs could be significant. A slow period of acclimation will be very necessary if the two sets of water parameters are very different.
How Do Water Parameters Effect Fish?
Each parameter listed below needs to be considered when moving a fish from point A to point B:
Temperature
Fish are a cold-blooded animal and this means they are unable to regulate their body temperature as we can. They rely solely on their environment to maintain correct body temperature. Their environment is the water they are in.
When fish are in an aquarium a heater and chiller are able to maintain water temperature to very accurate settings. The greatest risk to fish comes when they are being transported.
Even transporting a short distance can drop the water in the transport bag to cold enough temperatures that can cause the fish to stress. The other being said for those of you living in areas where 100°F weather is frequent. Too hot is just as dangerous as too cold.
Let’s look at it from a human example:
You board a plane in San Diego, fly to a cold and wet Chicago, then later that evening you fly back to San Diego. Being in the airport is like being in the transport bag, full of muck and illness. What do you think the chances are of you coming down with a cough, cold or illness once you got home from the trip!?
Insulated transport boxes, heat/cool packs and transport buckets with heaters are a great way to transport livestock without temperature becoming too much of an issue.

Once at home it is always recommended to float the transport bags in your aquarium for 20-30 minutes to bring the temperature back up to your aquarium temperature.
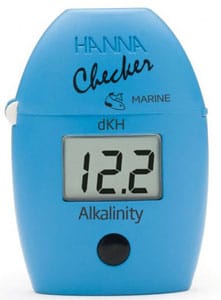
Ph
Ph is short for ‘Power of Hydrogen’ and it the measure of how acidic or alkaline a body of fluid is.
For a freshwater aquarium, you want to aim for around Ph 6.8 – 7.6 and around Ph 8.1 – 8.4 for a saltwater reef tank.
High levels of Ph can strip the slime coat off the fish and cause chapping to their scales and eventually lead to death.
Low levels of Ph begin to turn the water acidic which can then cause burning to the fish tissue, again, low levels will lead to death.
The main thing to note about Ph is that the scale is logarithmic.
Ph 8.0 is 10x stronger than Ph 7.0
Ph 9.0 is 100x stronger than Ph 7.0
If the water in your transport bag is at a Ph of 7.8 and you just dump your fish into your aquarium of Ph 8.4 the Ph difference will be 6x stronger and that can be a massive shock to your fish.
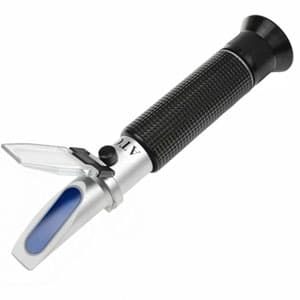
Salinity
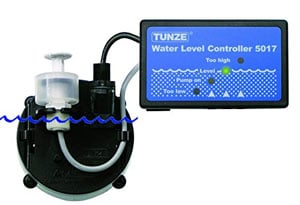
Salinity is the measure of salt concentration within water. Most fish stores keep their water at a lower salinity to help slow down the onset of parasites while the fish is in their custody. Some stores are even as low as 1.017 SG.
The recommended salinity for a healthy home aquarium is around 1.025 SG and as you can see that is a big difference. If you just drop your fish straight from the transport bag and into your aquarium there is a good chance your fish will suffer from Osmotic Shock and die shortly.
Osmoregulation is the fish’s ability to control the ratio of salt to water within its body. A sudden change in salinity can cause acute distress known as Osmotic Shock which usually leads to death within 2-3 days.
Osmotic Shock is usually one of the biggest killers of fish when not properly acclimated.
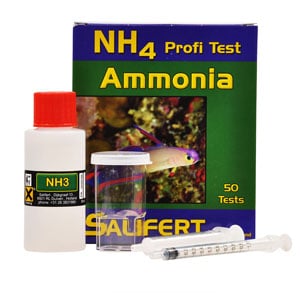
Ammonia
Ammonia is the main compound excreted by fish in the form of urine and feces. Ammonia is highly toxic to fish.
In the aquarium, Nitrosomonas Bacteria convert this compound into the lesser, but still highly toxic Nitrite. Nitrosomonas Bacteria is one type of bacteria that live in your aquarium and form part of the biological filtration of your tank. The other type of bacteria is Nitrobacter Bacteria that then converts Nitrite into the more tolerable Nitrate.
Growing these bacteria is the Nitrogen Cycle our aquarium must go through to sustain inhabitants.
When your fish is in transport it gets stressed. As a natural part of stress, the fish will defecate more which will slowly raise the Ammonia in the transport bag.
To hopefully offset this the store will have given your fish a lot of water in the bag to help dilute the Ammonia. The longer the fish is in the bag, the more the Ammonia will rise, and the more exposure the fish will have.
Ammonia attacks the fish’s metabolism and because of the higher Ph of saltwater, this allows the Ammonia to be turned into Ammonia Gas, which in turn is far more soluble in water, which increases the toxicity even more!
Possible effects of Ammonia Toxicity can include:
- Loss of equilibrium
- Erratic movements
- Increased heart rate
- Increased breathing rate
- Convulsions
- Coma
- Death
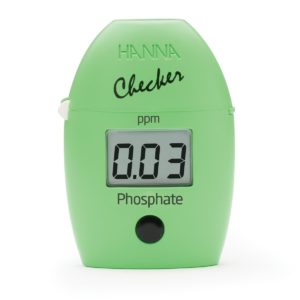
Nitrate
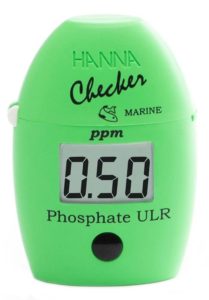
Nitrate is the lesser toxic compound of Nitrogen that is converted by the bacteria mentioned above. Although less toxic it can still cause problems to fish when levels begin to climb above 5ppm.
A sudden change in Nitrate can be deadly for your fish. If your local fish store has overstocked aquariums and their water changes are not as regular as they should be and you suddenly drop your fish into your pristine water this can cause what is known as Nitrate Shock.
Similarly, if the fish store water is pristine and your water is overstocked, overfed and your maintenance has lapsed the shock can be brought on that way too.
A rapid change in Nitrate can kill a fish within 1-2 days of the shock.
How Does Environment Effect Fish?
Now we have dealt with some of the parameter effects on your fish there are also some other factors you have to consider when introducing a new fish to their new home…
Light
The lights in a Reef Tank are bright, really bright. We can pay serious money for these to feed our coral but to give a fish sudden exposure to these bright lights will cause it stress, especially if its been in a pitch-black shipping box for the last 24 hours!
Think of how much your eyes hurt when you come out into full sunlight after being in a movie theatre!
Opening the transport box and putting the bags straight under the light to float them is a sure-fire way to bring on the onset of an illness or disease.
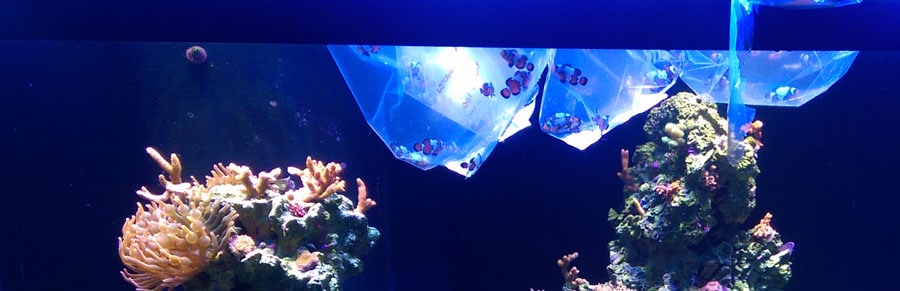
ALWAYS turn off your lights when floating bags. I always like to open the transport box in dim light conditions and leave it open for 5 min before even moving the bags.
Light acclimation is just as important to water parameter acclimation! Stress is the biggest catalyst of illnesses like Ich and Velvet that lie dormant waiting for a moment to rear their ugly heads!
Flow
Our reef tanks have immense power in the water current to help keep our coral happy. The amount of random flow in our tanks can be overwhelming to a new fish. Next time you are in a fish store have a look at how many powerheads are in the fish storage tanks = Zero!
If the fish you have just bought is not healthy, or suffering from any of the illnesses mentioned above, the sudden introduction to your immense flow could be the end of it. If you then cannot find the fish and its left to rot and decay, then your water parameters are going to spike.
It is always a good idea to turn down the flow in your aquarium for a few hours after the introduction to allow your new fish to settle before being bombarded by the current.
Food
Food may have not been a thought for you with acclimation but it plays a large part in why a lot of fish may die after several weeks. Most fish are like pigs and will anything and everything you throw in the tank, but some are either very picky eaters or have very specific diets.
Ensuring your new fish eats is very important! Some fish like Copperband Butterflies are notorious for losing their appetites when moved from store to home. They can be feeding well in the store, but once you get them home they may not eat in the main aquarium.
This is a time where you need to have them in quarantine to get them feeding again – More on quarantine later.
A Great Tip is to always ask what the fish store feeds their fish and then buy a tub of it to ensure any picky eaters have the best chance of eating when they are in your home aquarium.
Imagine traveling to Japan and the only thing to eat is fried grasshoppers! You know you would be glad to find a Subway or an Olive Garden nearby! Your fish are no different.
Territorial Tank Mates
Nobody likes a bully, but if you have put in some territorial fish before you should have then a constant barrage of attacks may be about to unfold!
A fish stocking plan helps to prevent this and to find out what one is and how to craft one I recommend you watch it on our YouTube channel which you can find here:
The Beginners Reef YouTube Channel
If you find your new addition is getting too much attention you may have to take measures to remove the bully or distract them. Do not go and remove the new fish! It is already stressed!
A good way to help distract your current inhabitants is to put in a tiny sprinkle of food at the opposite end of the tank just before you release the new fish. This will give them time to find a hidey-hole and begin adjusting.
Tank To Tank Differences
Hopefully, you have started to see that the difference between the stocking aquarium and your aquarium can be quite dramatic. The bigger the difference in any one of the water parameters can be enough to hurt or kill your fish, let alone if a few of the parameters are off!
This is why a gradual acclimation period is highly recommended to transition your fish safely. The length of time you take to acclimate your new purchase can be dependant on a few factors:
- Tank To Tank Difference – The greater the gap in parameters, the longer the acclimation time needs to be to make the transition gradual rather than rapid.
- The Journey Time – The longer the fish have been in transit, the cooler the water may have become and the more Ammonia will be present.
- The Species of Animal – Although this article is about fish, animals like starfish are hyper-sensitive to rapid changes. Research is key before you purchase any animal to see what the recommended acclimation time is.
- Arrive-Alive Guarantee – To ensure your fish are covered by this policy it is important that you read and follow the procedure laid out by the fish store. Most fish stores and online vendors will have a recommended procedure.
You can find an example of this HERE at Saltwaterfish.com
It is always a good habit to get into testing your transport bag water for all the parameters before you begin acclimation, this will then tell you how long you need to acclimate over.
If the parameters are close, then 30 minutes could suffice.
If the parameters are far apart, then you may be drip acclimating for 2-3 hours.
For a really great article on how I have been acclimating my fish for years see the Further Reading section at the bottom of this article.
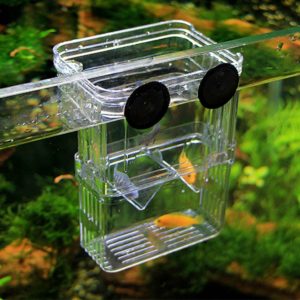
Quarantine
Although you may be a beginner to saltwater aquariums I want you to really, really consider setting up a quarantine tank. It does not have to be expensive and it does not have to run all the time but it can really help you save a lot of money on fish.
Before you switch off I Highly recommend you read this article.
Quarantine is such a good way to give your fish a rest after their journey, get them feeding and also medicate them for any unseen internal and external parasites, bacterial infections or diseases.
If you have been around the forums long enough you will have heard about Ich or Velvet and these illnesses are predominantly brought on by stress and are VERY contagious among fish.
To make matters worse, most of the medications to treat most fish illnesses are copper-based and copper will kill all your invertebrates and corals if added to your main aquarium.
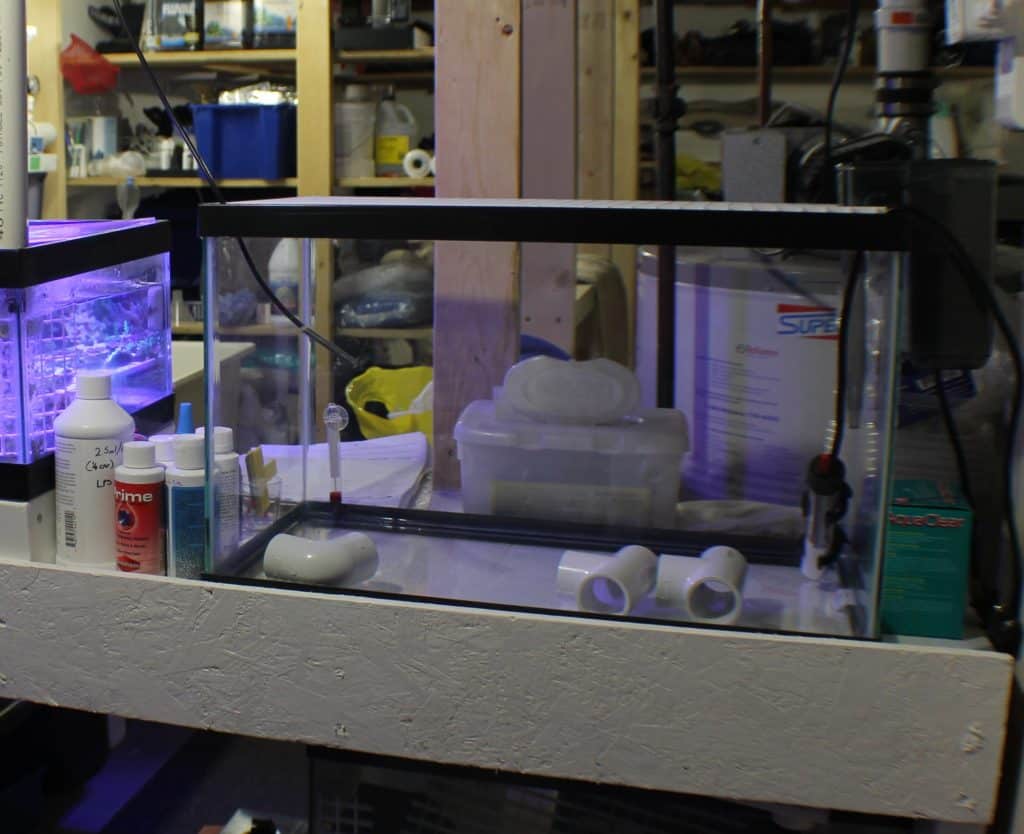
4 weeks in a quarantine tank will dramatically improve the long term health of not only your new purchases but your main aquarium too. It is really easy to do once you have done it!
Once you begin to spend over $50 on a single fish, then it is time to really invest $50 on a QT setup!
One Last Tip…
Every time your fish moves from one aquarium to another then you need to acclimate. This includes:
- Going from store to aquarium
- Going from quarantine to aquarium
- Going from friends aquarium to your aquarium
Any Time A Fish Moves – You Need To Think Acclimation!
To Finish
There is always a big debate about whether you should acclimate a new fish or not. Many aquarists never do it and they may be on borrowed time. Many aquarists like myself have been diligent with acclimation since day one and it has served us well.
Acclimation is a personal choice, but when looking at all the factors above that can affect the health of your new fish why would you take the chance.
A routine of acclimation and quarantine will really see great improvements in the quality and length of life for your fish, not to mention saving you the stress from losing your daughter’s favorite fish!
Further Reading
If you liked this article may I suggest a few more for you to read:
- How To Acclimate Saltwater Fish
- What Needs To Be Tested In A Saltwater Aquarium?
- How To Measure Salinity In An Aquarium
- Best Test Kits For Saltwater Aquariums
- Essential Products For Quarantine & Illness
- 20 Best Saltwater Fish For Beginners – With Pictures